Google AdSense is one of the most popular monetization strategies for WordPress sites. There are many ways you can monetize your website using AdSense. It lets you determine the types of ads that appear on your site and you have full control over where the ads are placed. It’s easy to deal with because you insert the code blocks to show where the ads will appear and Google does the rest.
Ads can be placed in posts, on pages, in the sidebars, in the header, and in the footer. They can be above or below the content, in-between the content, or you can set the content to wrap around the ads. The ad blocks can be placed by hand-coding, plugins, themes, shortcodes, and more. You also have the choice of just placing an ad or fully integrating Google AdSense into your WordPress dashboard.
This article will look at these methods and options and it will highlight some of the best tools. So, here goes…
Widgets & Plugins
There are plenty of plugins and widgets to choose from to add AdSense to your website. Some are complete integrations, bringing your whole Google AdSense account into your WordPress dashboard. Others make it easy to place the code where you want it on your site. Some widgets and plugins have features that enforce the 3 ads rule and help protect you from accidently clicking on your ads (which will get your account banned from Google) by allowing you to exclude your IP from displaying the ads. They also help with location-placement. This section lists some of the best plugins and widgets.
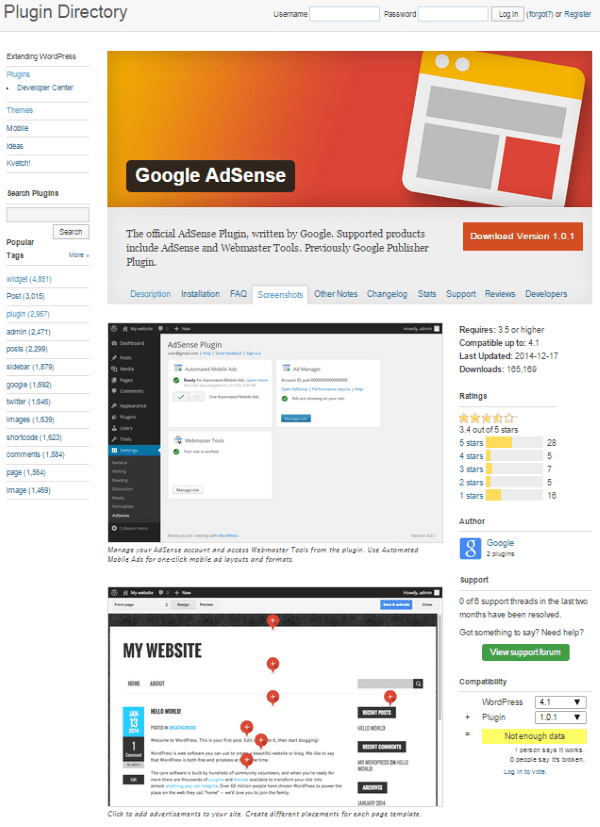
Google AdSense
This is Google’s official plugin for WordPress. It adds AdSense and Webmaster Tools to your site. It comes with Automated Mobile Ads which adds mobile specific layouts and it has an easy to use ad management system. You can also manually insert ads into locations that you specify in HTML and interact with them with point and click. You can exclude pages from having ads as well. Webmaster Tools are built in to your WordPress dashboard, so you have everything you need in one place. This plugin is free.
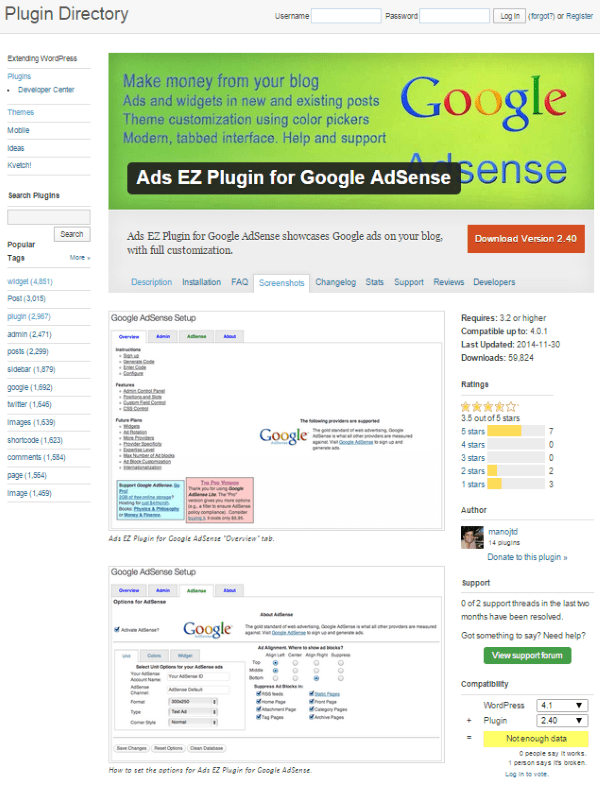
Ads EZ Plugin for Google AdSense
This one gives you a nice tabbed interface that includes all of the admin controls and options. It adds widgets to your sidebar and you can position and display ad blocks anywhere you want in posts and pages. It has a custom Google interface with color pickers that lets you adjust the colors and fonts to match your site. You can place the ads in the top, middle, or bottom, and align them by left, center, or right.
There is both a free and a premium edition. The Pro version is $5.99 and adds a filter so your ads will only show on those pages that comply with Ads EZ Plugin for Google AdSense policies. This is a good feature because some comments can make your pages inconsistent with those policies. It also lets you choose computers where your ads will not be shown. This helps to prevent accidental clicks on your own ads so you don’t get banned by Google.
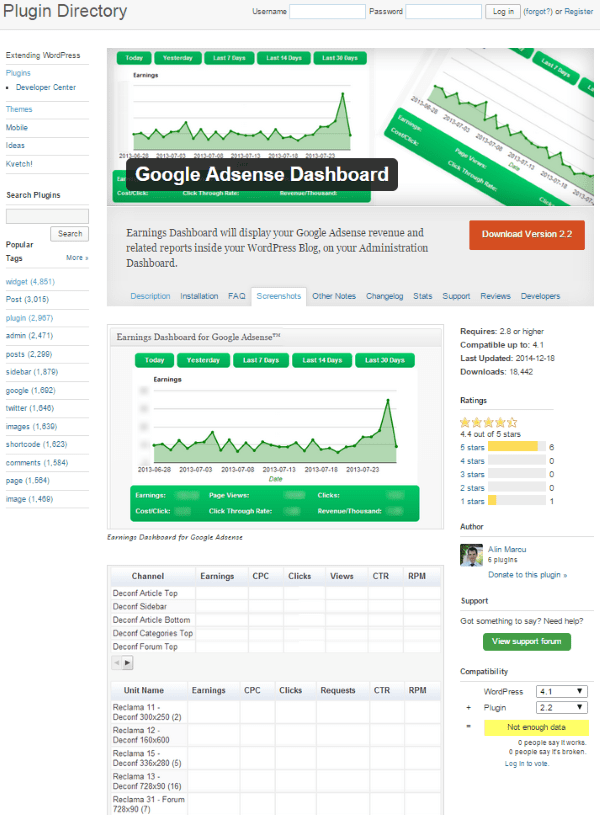
Google Adsense Dashboard
This is a free plugin that adds your Google AdSense dashboard to your WordPress dashboard and will display your earnings. It has a widget called Earnings Dashboard that shows your AdSense statistics and reports in your admin panel on your website. It will show your total earnings, CPC, CTR, CPM, Number of Clicks, and Page Views. You can display the results based on a date-range such as today, yesterday, last 7 days, last 14 days, and last 30 days. You can set the access level so only certain users (editors, authors, etc.) can see the information. It will also improve your page loading using a cache system.
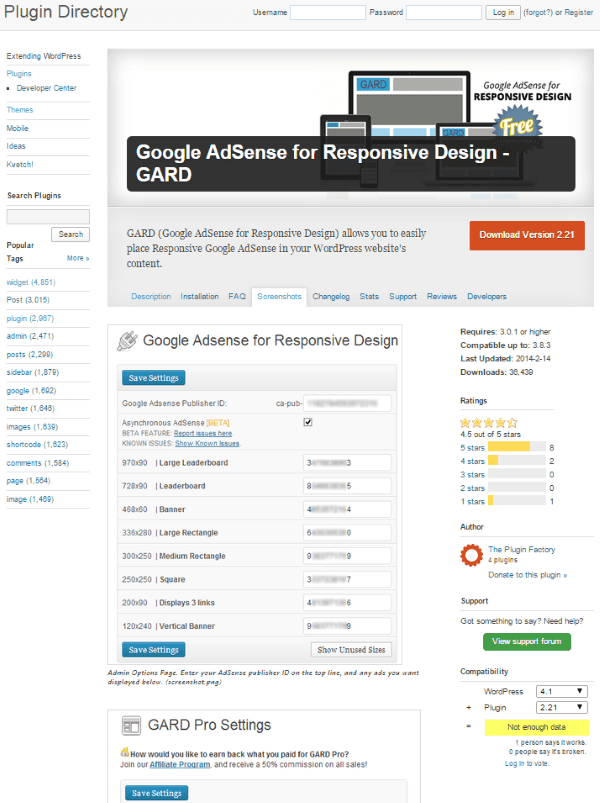
Google AdSense for Responsive Design – GARD
GARD stands for Google AdSense for Responsive Design. It lets you place responsive AdSense ads within your content using shortcodes. You have a lot of control over your ad-placement and the custom CSS styling options allow you to tailor it to suit your site. You can tell GARD which ads to choose from for placement. It’s AdSense policy compliant, so it only displays 3 blocks of AdSense ads on a single page or post. It also has ad groups, so you can have groups that are specific to links, banners, and so forth.
There is a Pro edition that adds multiple ad groups, gives you the ability to auto insert ads, and more. It’s $34.95 for 1 site, $84.95 for 2-5 sites, and $124.95 for 6-10 sites.
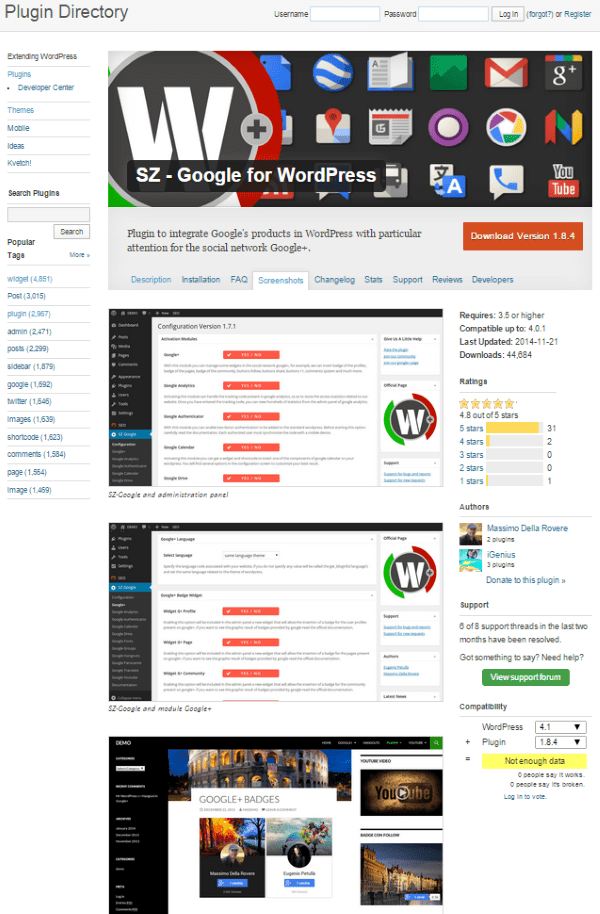
SZ – Google for WordPress
This plugin integrates Google products into your WordPress site with a focus on social networking through Google+. It has lots of Google-based modules that you can use independently.
These modules include:
- Google+
- Google Analytics
- Google Authenticator
- Google Calendar
- Google Drive
- Google Fonts
- Google Groups
- Google Hangouts
- Google Maps
- Google Panoramio
- Google Translate
- Youtube
- Documentation
It has a Google+ social network module that includes many widgets and modules as well, including:
- Badges
- Buttons
- Comments System
- Custom URL
- Embedded Posts
- HEAD section
- Widgets
- Shortcodes
- Functions
It also has a Google Analytics module that will generate code from your dashboard. Plus, it gives you control over positioning. It will add the code to your header and footer, or you can customize the position manually. It has functions to allow you to customize your theme through PHP.
Each of the modules are independent of each other so you can activate only the modules you want and use them in any combination you want.
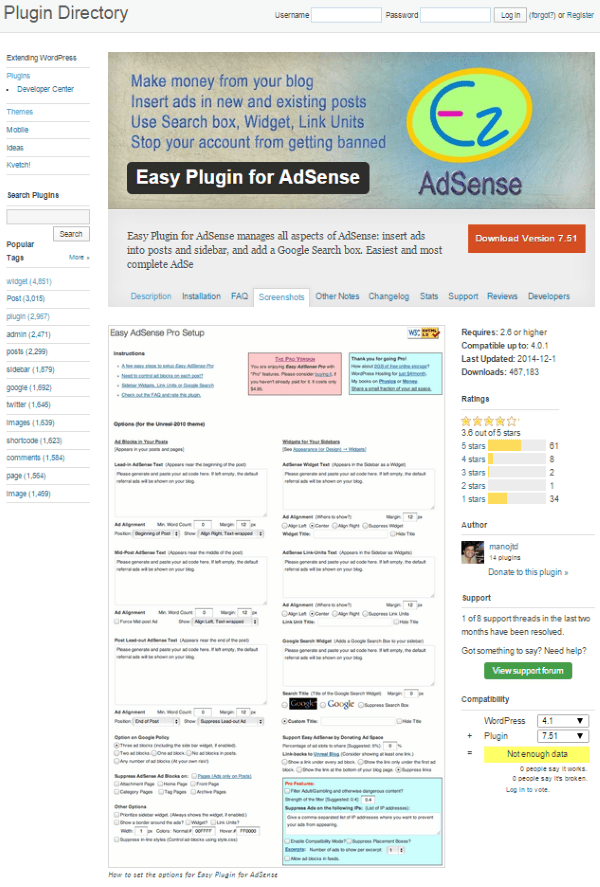
Easy Plugin for AdSense
This one will let you insert your ads into your posts and pages, as well as your sidebars. You can also add a Google Search Box. It enforces the AdSense policy of no more than 3 AdSense blocks on a single page. It comes with widgets so you can add a custom title to the content, have customizable text or image title for searches, and link units.
You can place links in the header and footer. You can suppress ads on the home page and on pages if you want. And there’s a customizable mouse-over border for your ad blocks so they stand out in any way you want them to. You can also display the blocks based on the length of the post. Basically, you have full control over the positioning of individual pages and posts.
There is also a Pro Version for $4.95 that adds even more features, such as:
- Safe Content filter
- IP filter
- Compatibility mode
- Shortcode support
- Mobile support
- Configurable number of ads on Excerpts
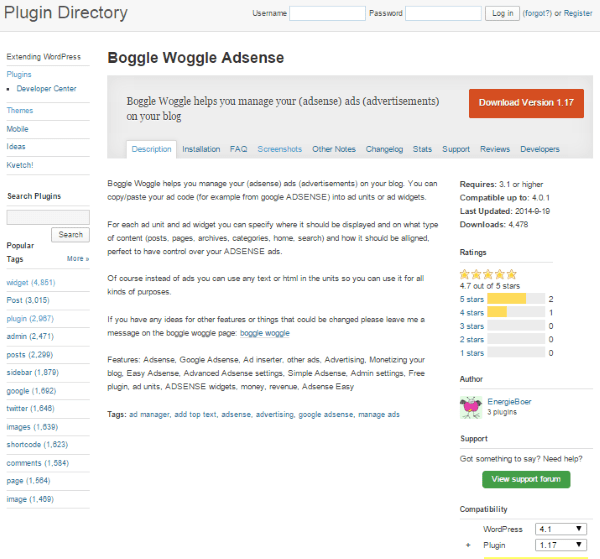
Boggle Woggle Adsense
This one gives you ad widgets and ad units where you can paste your AdSense code. You can choose where each widget and unit will be placed and in what type of content it will be used with including posts, pages, archives, categories, home, and search. This one can also be used as a general purpose text widget as you can add any kind of HTML and text you want.
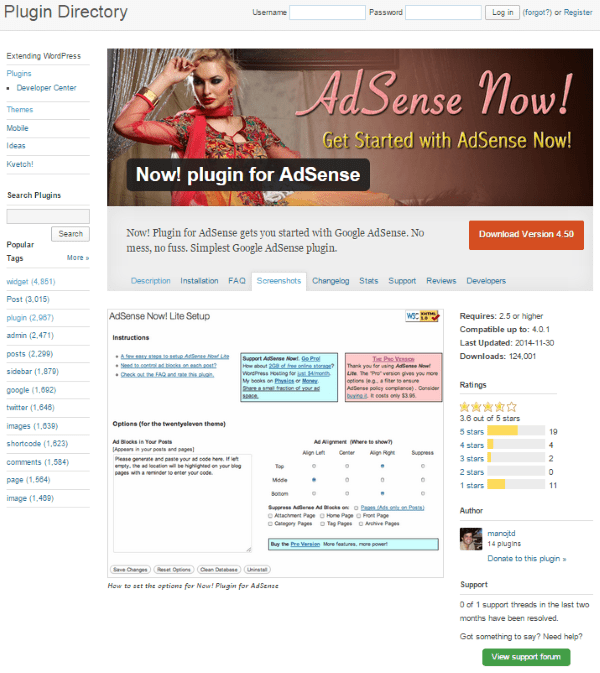
Now! Plugin for AdSense
The idea behind this plugin is simplicity. It will place AdSense code in up to 3 places in your existing and future pages and posts. It enforces the Google policy of no more than 3 AdSense blocks per page. Adding code is by copy and paste from Google and you can suppress ads on all pages, on the home page, or in the category, tag, and archive listings. You have full control over the positioning on pages and posts.
There is also a premium edition. The Pro Version costs $3.95 for a single license and gives you a filter so your ads show only on pages that comply with Google AdSense policies. It also lets you specify computers where your ads will not be shown, so you don’t accidently click on your own ads.
Ad Inserter
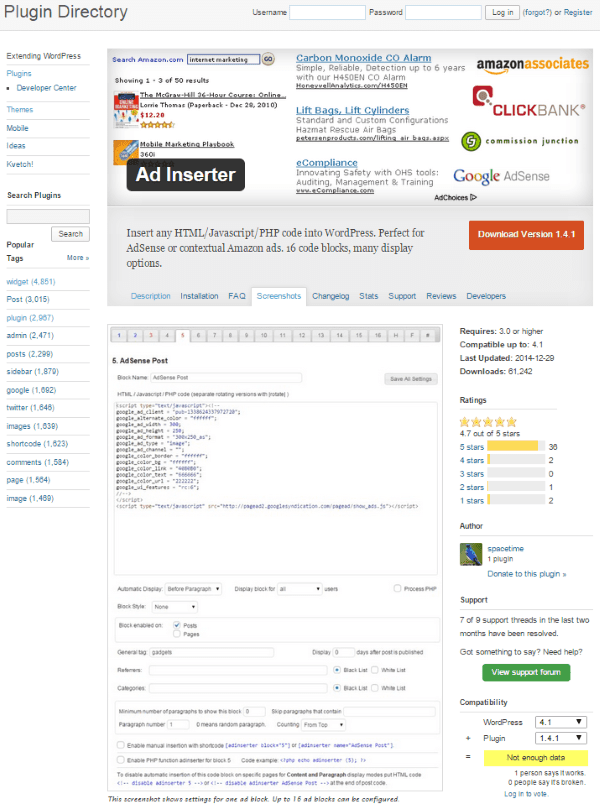
This free plugin allows you to insert ads into your posts as shortcodes. It has 16 different code blocks that you can manually place as shorcodes. It has lots of options that determine where the ad is placed within the post, and you can choose whether or not the ad is placed based on the post. For example, “do not display ads until post is x days old,” “do not display ads for x category,” etc. You can place the ads with various alignments including wrapping, left, right, center, floating left, floating right, and more. It also has support for header and footer scripts.
Using ePanel Integration Tabs
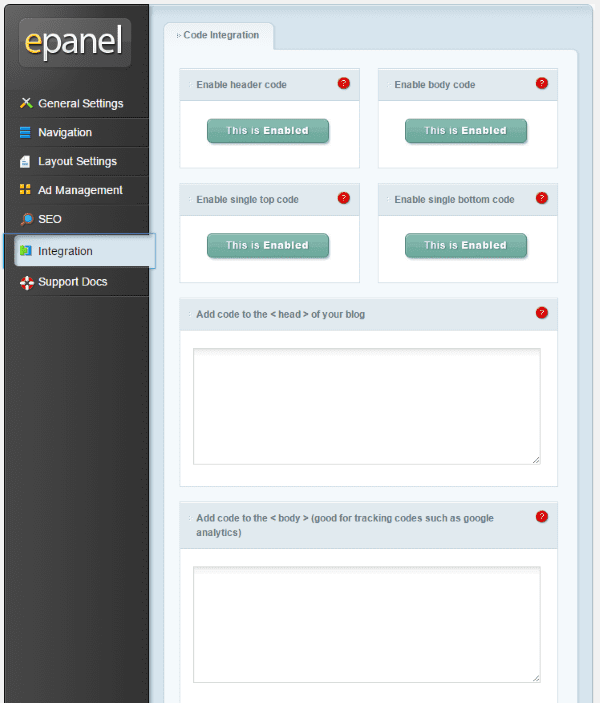
What if you don’t want to use a plugin just to add Google AdSense ads to your WordPress site powered by Elegant Themes? Well, you’re in luck because you don’t have to! You can manually insert your Google AdSense code directly into your ET epanel using the Integration tab. From the Integration tab you can add custom code to key areas in your theme, including adding code such as Google AdSense.
To do this, select Integration in the epanel. This takes you to the Code Integration options where you can add code to the header, body, top, or bottom. All you have to do is enable the area you want the code to appear, and then paste the code snippet that you got from Google into the proper text-boxes, save it, and you’re in business! Each of these locations can be turned on or off as you wish. Just keep in mind you’re only allowed to display 3 Google ads on a page or post – including the sidebar, header, and footer.
Placing Code Manually
Another way to place your AdSense code is manually pasting it directly into your posts and pages. You can even manually paste it into your theme’s header and footer, or directly into your theme file if you want.
How to Add AdSense Code Manually to Your Pages & Posts
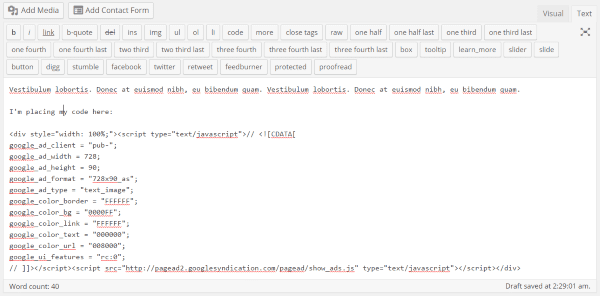
Adding AdSense code directly into your posts is simple. In the post or page editor, choose Text and paste the code where you want it to appear in the post. Once you publish the post the AdSense code will be displayed. One problem with this is your content will either appear above it or below it. So if you’ve placed the code in the middle of your content, the ad will break your content into two pieces. This works, but it might not have the look you’re after.
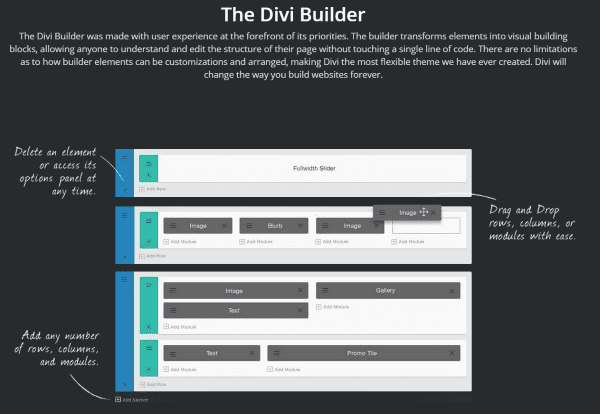
Most like placing the code within the text, so the ad is to the right or left of the content and the content wraps around the ad. An easy way to do this is by using ET’s Page Builder plugin or Divi’s Page Builder.
If you use either ET’s Page Builder plugin or Divi’s Page Builder to develop your page layout, then you can use a text block to place a block of code anywhere you want. You can have your content wrap around the AdSense ad, making it look seamlessly integrated within your content. This gives you a clean look and it doesn’t take much time at all to build.
How to Add AdSense Code Manually to Your Theme File
If you don’t want to place the code in every post manually, you can add it directly to your theme. There are many tutorials that step you through placing code within your posts. This code will allow you to manually add code into your theme files that will place wrap-able ads into your posts.
In the Theme Editor click Single Post (single.php) on the right hand side from the Theme Files.
To place the ad below the title of the post
Place your AdSense code above this code
<div class=”postContent”> |
To place the ad after the post
Place the code after the first
</div> of the <div class=”postContent”> |
Wrap the text to the right of the ad
Place your code between these lines
<div style=”display:block;float:left;margin: 0px 10px 0px 0px;”> Your Adsense script </div> |
Wrap the text to the left of the ad
Place your code in between these lines
<div style=”display:block;float:right;margin: 0px 10px 0px 0px;’> Your Adsense script </div> |
Another method is to create a CSS style. Place this code:
<?php if ( is_single() ) : ?> |
Then style this in style.css like this:
<pre>.adsense { float: left; margin-right: 10px; } |
Or this for align left:
<div style="float:left;"> |
and this for align right:
<div style="float:right;"> |
How to Add AdSense Code Manually to Your Header
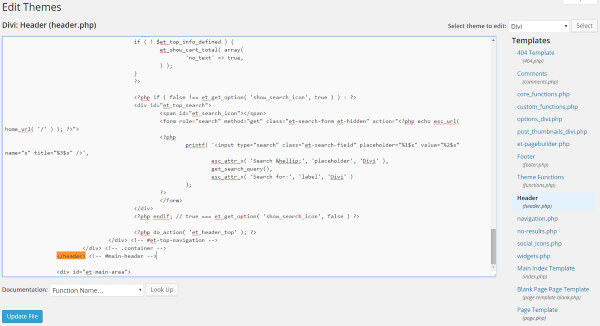
To manually place your Google AdSense code in your header, go to Appearance > Editor and select Header (header.php). Now look for </header> in your header file. Place your AdSense code either above or below </header>. Next select Update file and you should have an AdSense ad in your header.
If you want to control the alignment of the banner, use one of these snippets of code to align center, right, or left, respectively:
<div align=”center”>Place AdSense code here</div> |
<div align=”right”>Place AdSense code here</div> |
<div align=”left”>Place AdSense code here</div> |
How to Add AdSense Code Manually to Your Footer
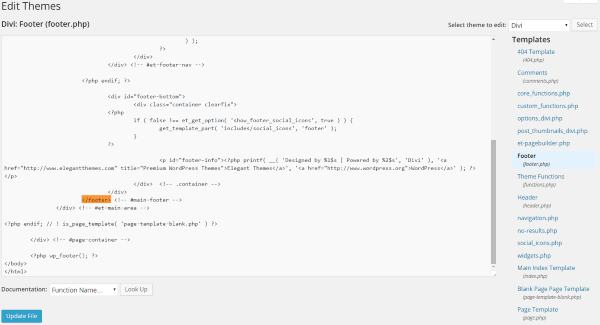
To manually place your Google AdSense code in your footer, go to Appearance > Editor and select Footer (footer.php). Now look for </footer> in your header file. Place your AdSense code either above or below </footer>. Next select Update file and you should have an AdSense ad in your footer.
Use the same alignment code as the header to place the banner in the center, align it to the right, or align it to the left.
Wrapping Up
Adding Google AdSense code is simple, but getting it where you want it, keeping it limited to 3 blocks, and keeping yourself from accidently clicking on your own ads can be tricky. These methods simplify the process and give you full control over your ad-placement.
How about you? Have you placed Google AdSense in your WordPress site? How do you manage your code? Do you use a plugin or one of the methods discussed here? Did I leave out your favorite method or plugin? I’d like to hear your thoughts in the comments below!
Article thumbnail image by mamanamsai / shutterstock.com


